

Introduction
Turning a JPG image into an EXP embroidery file for your Bernina or Melco machine might seem tricky, but it’s easier than you think. Whether you’re creating custom designs for personal projects or professional work, learning how to convert JPG to EXP file properly ensures your embroidery comes out clean and detailed.
In this guide, we’ll walk through the entire process of how to convert JPG to EXP file—from choosing the right image to finalizing your EXP file. You’ll learn about the best software options, manual digitizing techniques, and common pitfalls to avoid when you convert JPG to EXP file. Let’s get started!
Understanding EXP Files
Before converting your JPG, it’s important to understand what makes EXP files special:
- EXP Format: The native file type for Bernina and Melco embroidery machines
- Stitch Data: Contains precise instructions for needle movement and thread colors
- Design Limitations: Works best with clean, high-contrast images rather than complex photos
Preparing Your JPG Image
Not all images convert well to embroidery. Follow these tips for the best results:
Choose the Right Image
- Simple designs with clear outlines work best
- High contrast between elements is ideal
- Avoid photos with gradients or excessive detail
Optimize Your Image
- Use photo editing software to:
- Increase contrast
- Simplify colors
- Remove background distractions
- Save as a PNG with transparent background if possible
Best Methods to Convert JPG to EXP
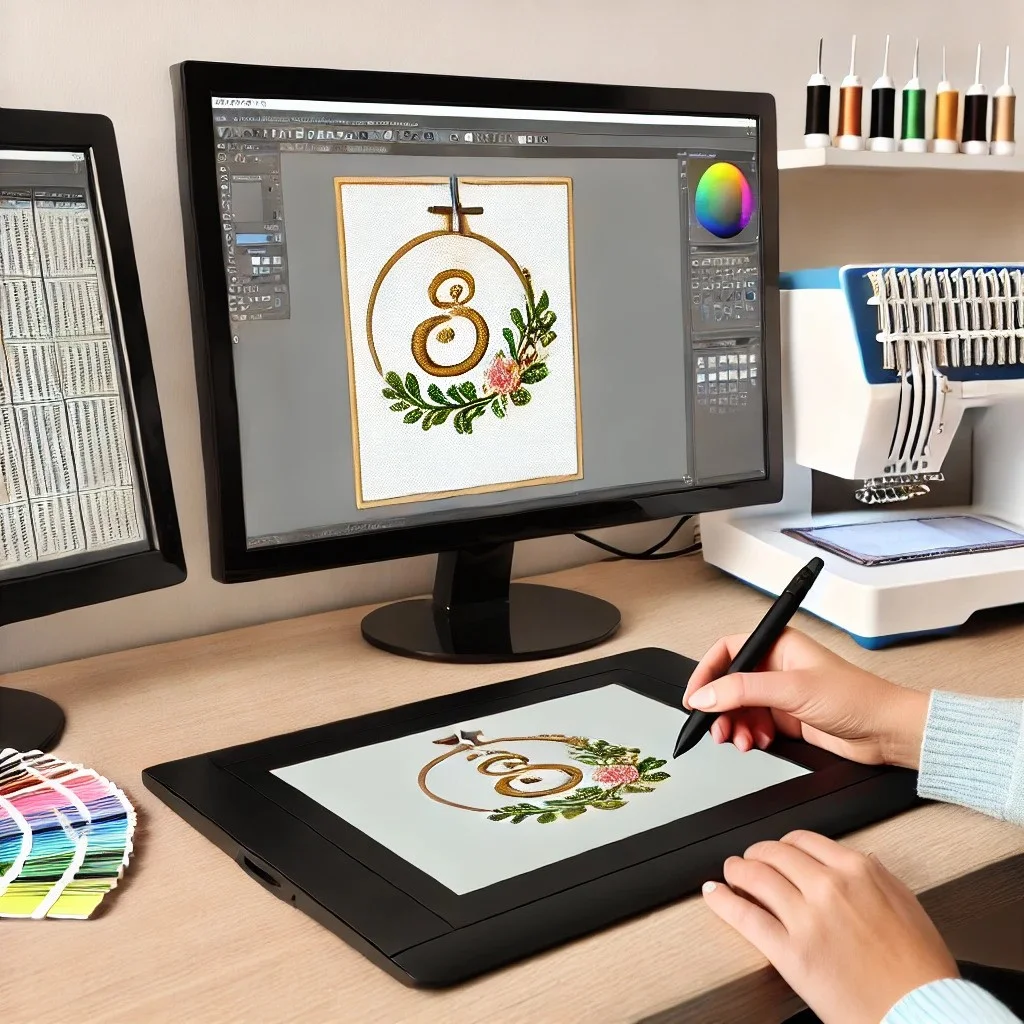
Method 1: Using Dedicated Embroidery Software
Top Software Options:
- Hatch Embroidery
- Excellent auto-digitizing features
- Direct EXP export capability
- User-friendly interface
- Wilcom EmbroideryStudio
- Industry-standard professional software
- Advanced digitizing tools
- Steeper learning curve
- Embrilliance
- More affordable option
- Good for basic conversions
- Mac and Windows compatible
Method 2: Online Converters
For quick, simple conversions:
- MyEditor Online
- StitchBuddy (for Mac users)
Note: Online converters often produce lower quality results than dedicated software.
Method 3: Manual Digitizing
For professional-quality results:
- Import JPG into embroidery software
- Trace design elements manually
- Assign appropriate stitch types:
- Fill stitches for large areas
- Satin stitches for outlines
- Running stitches for fine details
- Add underlay stitches for stability
- Adjust stitch density and direction
Step-by-Step Conversion Process
Step 1: Import Your JPG
Open your image in your chosen embroidery software. Most programs let you simply drag and drop the file.
Step 2: Adjust Image Settings
- Set the desired size for your embroidery
- Adjust brightness/contrast if needed
- Simplify colors if the image has too many shades
Step 3: Digitize the Design
- Use auto-digitize for simple designs
- Manual digitizing works better for complex images
- Pay special attention to:
- Stitch direction
- Density settings
- Underlay requirements
Step 4: Test and Refine
- Run a simulation if your software offers it
- Stitch a sample on scrap fabric
- Make adjustments based on test results
Step 5: Export as EXP
- Select “Save As” or “Export”
- Choose EXP format
- Verify compatibility with your machine
Pro Tips for Better Conversions
- Start Simple – Begin with basic designs as you learn
- Mind the Size – Larger designs show more detail
- Stitch Order Matters – Plan the sequence carefully
- Use Proper Stabilizers – Prevents puckering in final product
- Color Test – Check how thread colors translate from screen
Common Problems and Solutions
Problem: Design Looks Pixelated
Solution: Start with higher resolution image or manually clean up edges
Problem: Thread Breaks Occur
Solution: Reduce stitch density in problem areas
Problem: Fabric Puckers
Solution: Adjust underlay settings and use proper stabilizer
Problem: Colors Don’t Match
Solution: Create a color chart with actual threads
Free Alternatives
If you’re on a budget:
- Ink/Stitch (free Inkscape extension)
- SewArt (limited free version available)
- Embrilliance Express (basic free version)
Conclusion
Converting JPG to EXP files opens up endless possibilities for custom embroidery on your Bernina or Melco machine. While the process requires some practice, following these methods and tips will help you create professional-quality designs.
Remember that simple images convert best, manual digitizing produces superior results, and testing your designs is crucial. With patience and the right tools, you’ll be creating perfect EXP files in no time.
Now that you’re equipped with this knowledge, why not try converting your first image today? Happy embroidering!


